ClipX.js – Lightweight Copy to Clipboard Library
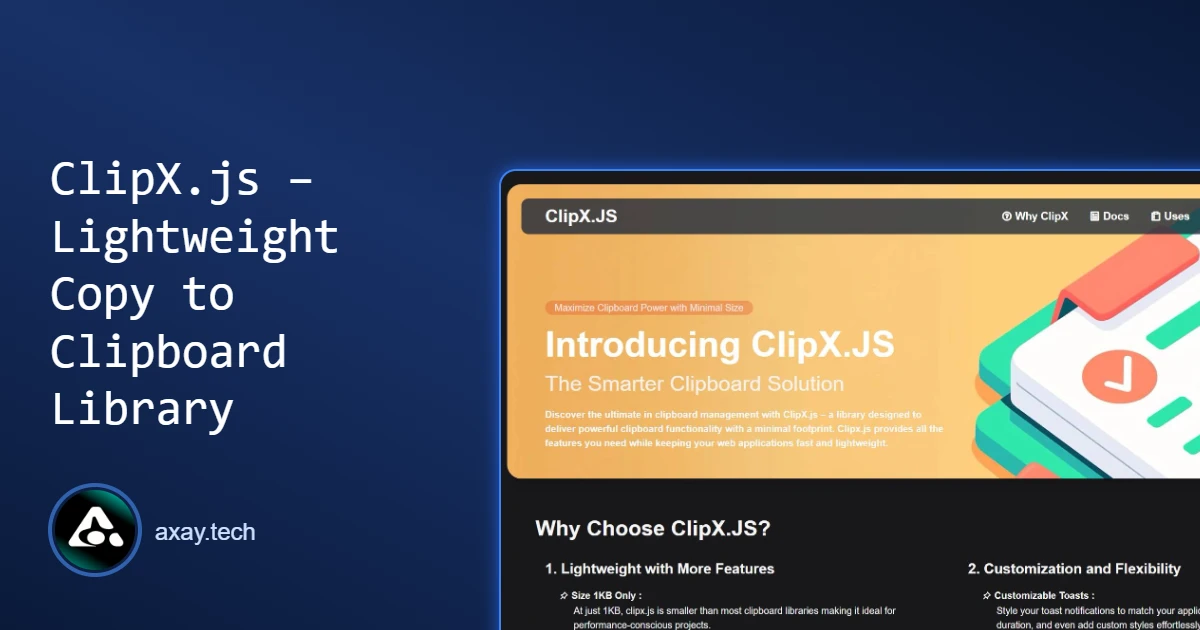
ClipX.js is a small JavaScript library for copying, cutting, and pasting text. It suits blogs, documentation, and apps that need a copy button without heavy dependencies. At about 1KB, it is fast and flexible, and it works in modern browsers.
Source: github.com/mraxays/clipxjs (MIT licensed)
Install: npm install clipxjs
Documentation: clipx.js.org
Background: read the case study on why I built it
What is ClipX.js?
ClipX.js is designed to handle common clipboard actions like copy, cut, and paste. It also includes built-in toast notifications so users know the action worked. You can customize messages, styles, and even disable features you don’t need.
Key Features
- Small & fast – About
1KB, loads instantly. - Built-in Notifications – Shows “Copied!” messages without extra code.
- Easy Setup – Just add the script and attach it to your buttons.
- Customizable – Change styles, messages, and behavior with attributes.
- No Dependencies – Works with plain HTML and JavaScript.
How to Install ClipX.js
- Via NPM:
npm install clipxjs
- Via CDN:
<script src="https://cdn.jsdelivr.net/npm/clipxjs/dist/clipx.min.js"></script>
Basic Usage Example
Once installed, you can use ClipX.js with just a few lines:
<button data-clipx-text="Hello World">Copy Text</button>

<script src="https://cdn.jsdelivr.net/npm/clipxjs/dist/clipx.min.js"></script>
<script>
  var clipx = new clipx();
  clipx.attach("[data-clipx-text], [data-clipx-target]");
</script>
Copy from Another Element
<p id="copy-me">This text will be copied.</p>
<button data-clipx-target="#copy-me">Copy Paragraph</button>
Custom Messages and Toast Position
You can customize the toast message, position, and display duration directly with data attributes.
<button
  data-clipx-text="Custom text"
  data-clipx-msg="Copied successfully!"
  data-clipx-toast-position="bottom"
  data-clipx-duration="4000"
>
  Copy with Custom Toast
</button>
data-clipx-msg controls the message shown by the toast, data-clipx-toast-position controls whether it appears at the top or bottom, and data-clipx-duration controls how long the toast remains visible.
Toast Customization
ClipX.js provides several ways to customize how toast notifications behave.
Custom Toast Message
Use data-clipx-msg to show your own success message:
<button data-clipx-text="Hello World" data-clipx-msg="Copied to clipboard!">
  Copy Text
</button>
Toast Position
Choose whether the toast appears at the top or bottom:
<button
  data-clipx-text="Hello World"
  data-clipx-toast
  data-clipx-toast-position="top"
>
  Copy with Top Toast
</button>

<button
  data-clipx-text="Hello World"
  data-clipx-toast
  data-clipx-toast-position="bottom"
>
  Copy with Bottom Toast
</button>
Toast Duration
Set the toast visibility duration in milliseconds:
<button
  data-clipx-text="Hello World"
  data-clipx-toast
  data-clipx-duration="3000"
>
  Show Toast for 3 Seconds
</button>
Toast Only
You can show the toast without changing the button's text:
<button
  data-clipx-text="Hello World"
  data-clipx-toast
  data-clipx-msg="Text copied!"
>
  Copy Text
</button>
Disable Toast Notifications
You can disable the toast for individual elements:
<button data-clipx-text="Hello World" data-clipx-disable-toast>
  Copy Without Toast
</button>
You can also disable toast notifications globally:
clipx.disable.toast = true;
Disable Text Changes
To prevent ClipX.js from changing the element's text after the clipboard action:
<button data-clipx-text="Hello World" data-clipx-disable-msg>Copy Text</button>
Or disable text changes globally:
clipx.disable.msg = true;
Custom Toast Styling
ClipX.js also allows you to customize the toast appearance with your own CSS styles:
clipx.setCustomStyles({
  toast:
    "background-color: #333; color: #fff; padding: 12px; border-radius: 5px;",
});
You can use this to match the toast notification to your website or application's design.
To hide the built-in SVG toast icon, add:
.clipx-js-svg-icon {
  display: none;
}
Complete Cut & Paste Example
ClipX.js also supports cutting text from an input and pasting it into another element.
<input id="source" type="text" value="This text can be cut and pasted." />

<button
  type="button"
  data-clipx-target="#source"
  data-clipx-cut
  data-clipx-msg="Text cut!"
>
  Cut Text
</button>

<input id="destination" type="text" placeholder="Paste the text here" />

<button
  type="button"
  data-clipx-paste-target="#destination"
  data-clipx-msg="Text pasted!"
>
  Paste Text
</button>

<script src="https://cdn.jsdelivr.net/npm/clipxjs/dist/clipx.min.js"></script>

<script>
  var clipx = new clipx();

  clipx.attach(
    "[data-clipx-text], " +
      "[data-clipx-target], " +
      "[data-clipx-paste-target]",
  );
</script>
How It Works
-
Cut Text —
data-clipx-target="#source"selects the source input, whiledata-clipx-cutcopies its contents to the clipboard and clears the source. -
Paste Text —
data-clipx-paste-target="#destination"tells ClipX.js where to insert the clipboard contents. -
Custom Feedback —
data-clipx-msgdisplays a custom toast message after each action.
This allows you to build a complete clipboard workflow without writing custom event handlers or additional JavaScript.
When to Use ClipX.js
Many sites add "Copy" buttons for code snippets, referral links, or form fields. ClipX.js fits these cases:
- Technical blogs with code examples
- Web apps that let users copy IDs or tokens
- Forms that need a quick copy action
It is not a full clipboard framework. If you need rich content such as images or HTML, use the browser's Clipboard API directly.
For all attributes and configuration options, see the full ClipX.js documentation.